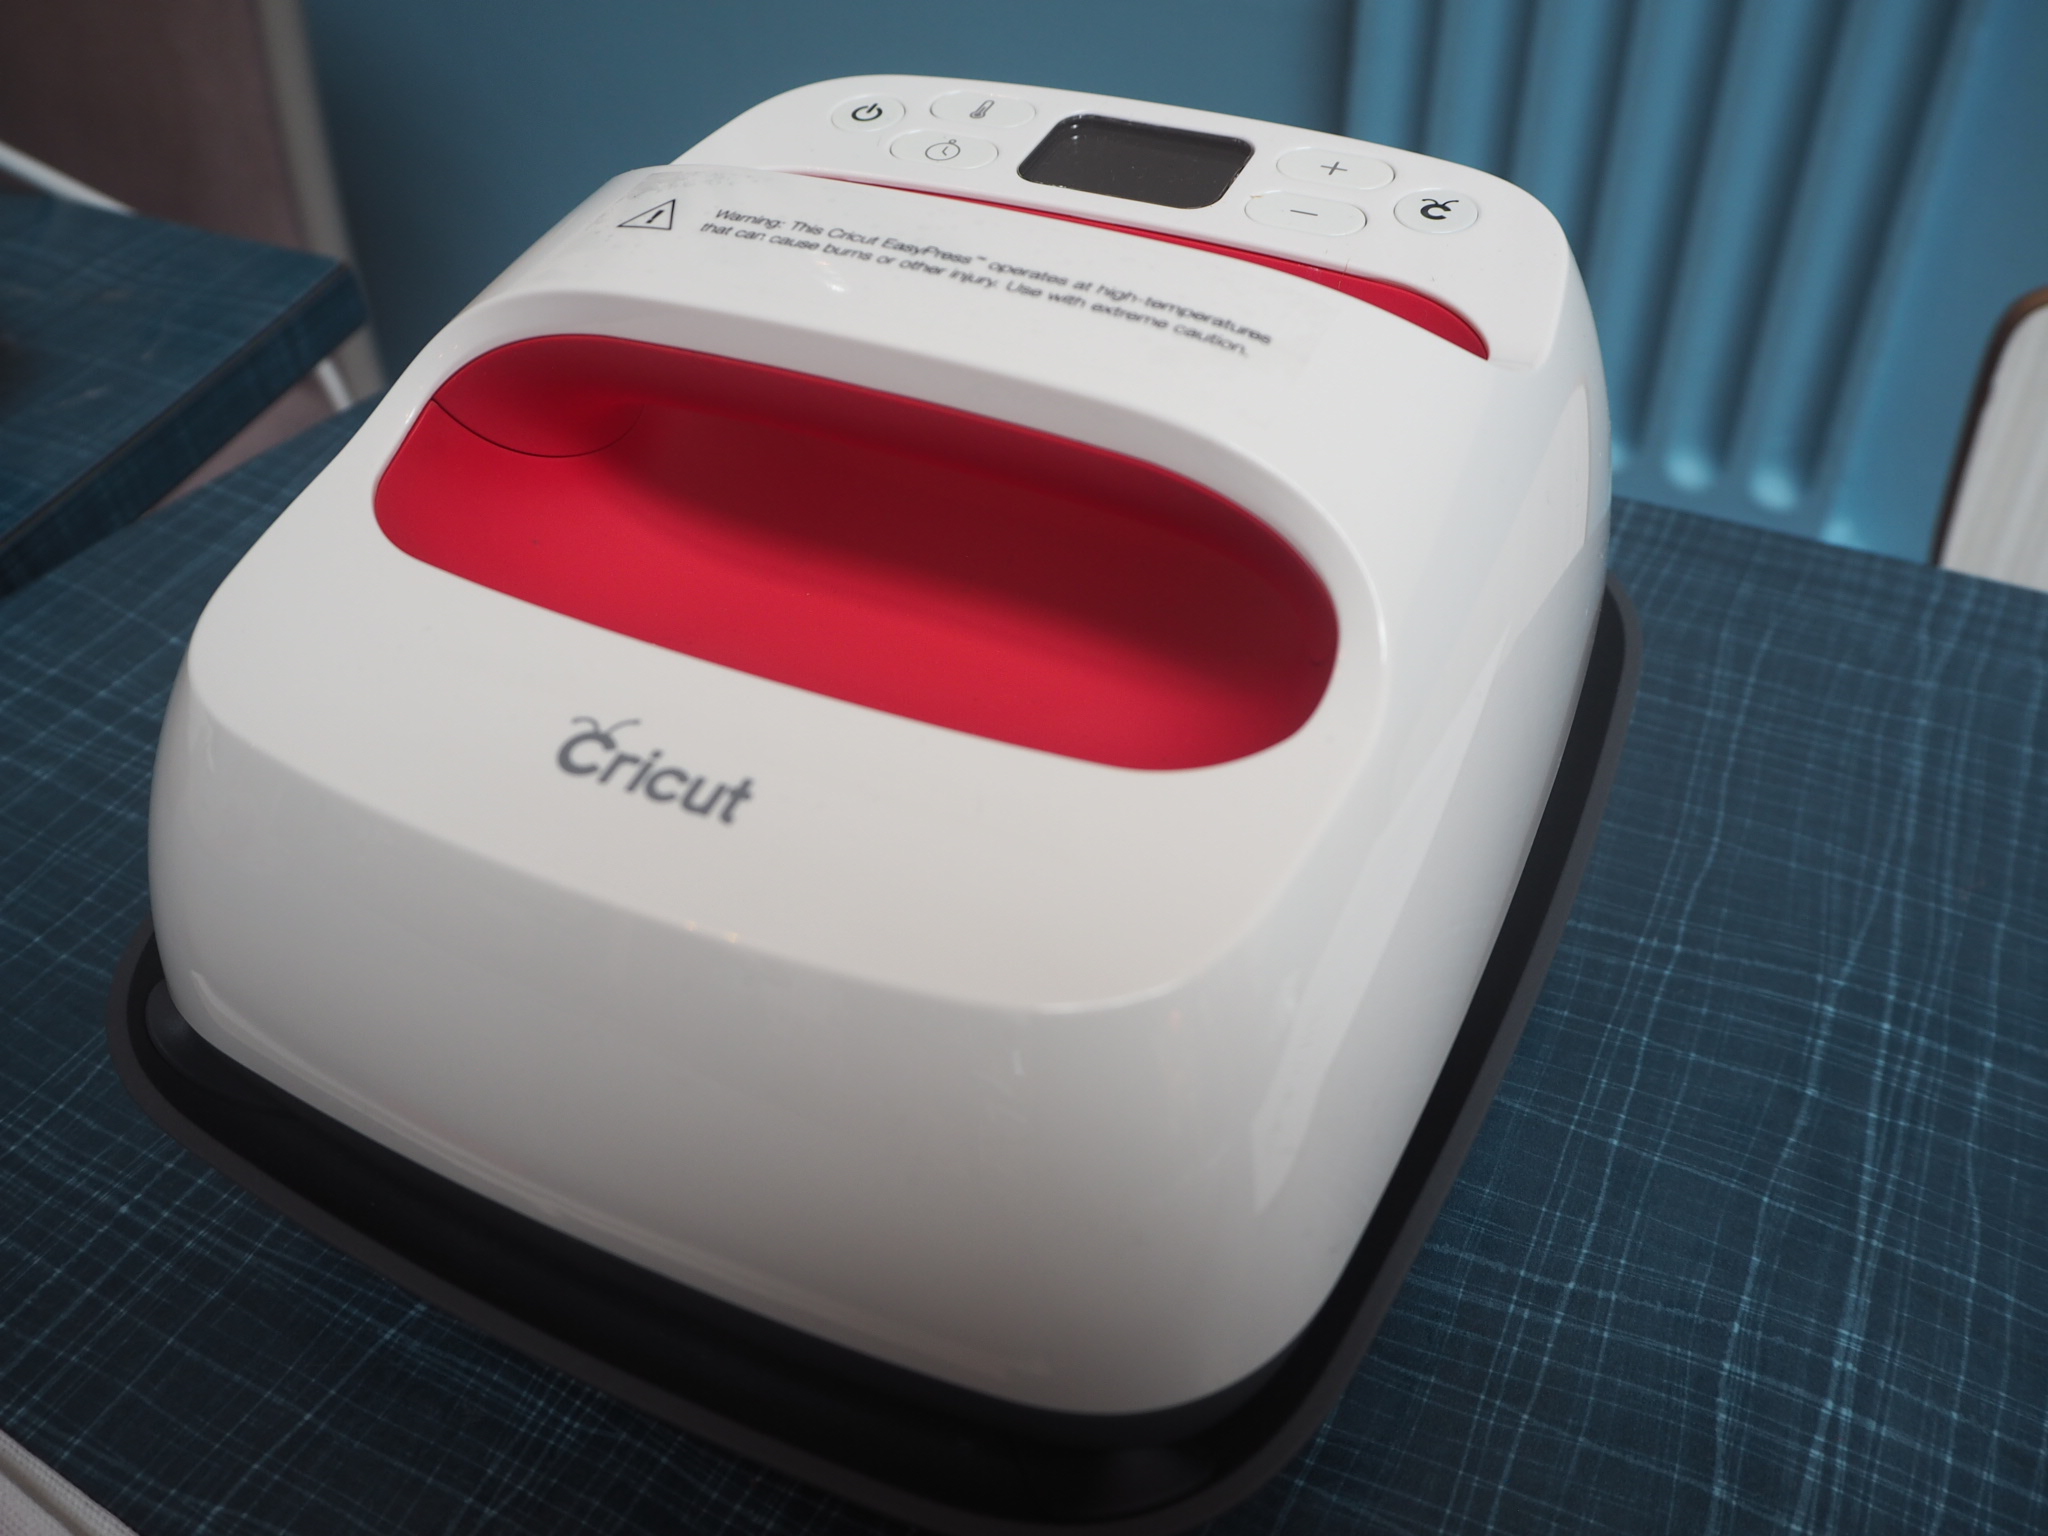

I have to admit that I am a lazy crafter. I like things to be quick and easy with minimal fuss which is why I am currently loving the Cricut EasyPress 2 because it allows me to design and personalise craft projects such as tote bags, tea towels and t-shirts without having to set up my iron!
You might think it is a bit extreme to rely on a gadget to do something that I could easily do myself just by getting out the iron and board but having instantly melted fabric in the past by having the incorrect setting on my iron I really feel that the EasyPress is a must have in my crafting collection.
The Cricut EasyPress 2 is an alternative to using your home iron for projects which use iron-on vinyl allowing you to turn boring pillows, blankets, t-shirts, tote bags etc into personalised gems.
The Cricut EasyPress 2 offers professional iron-on results in 60 seconds or less using a ceramic-coated edge-to-edge plate which heats up 205°C (400°F) to heat for flawless transfers. It is perfect to use in combination with Cricut smart cutting machines such as the Maker (click here to learn more about the Maker) which can cut even intricate designs into iron on vinyl.
There are 3 sizes in the EasyPress range; 6″ x 7″, 9″ x 9″ and 12″ x 10″ which means you can find the perfect size for your projects. If you mainly personalise t-shirts you may prefer the medium or larger size whereas if you enjoy smaller projects like tea towels or baby grows the smaller option would be the best for you.
Surprisingly even the bigger sizes are lightweight, easy to move around and store. In order to keep the user
How to use:
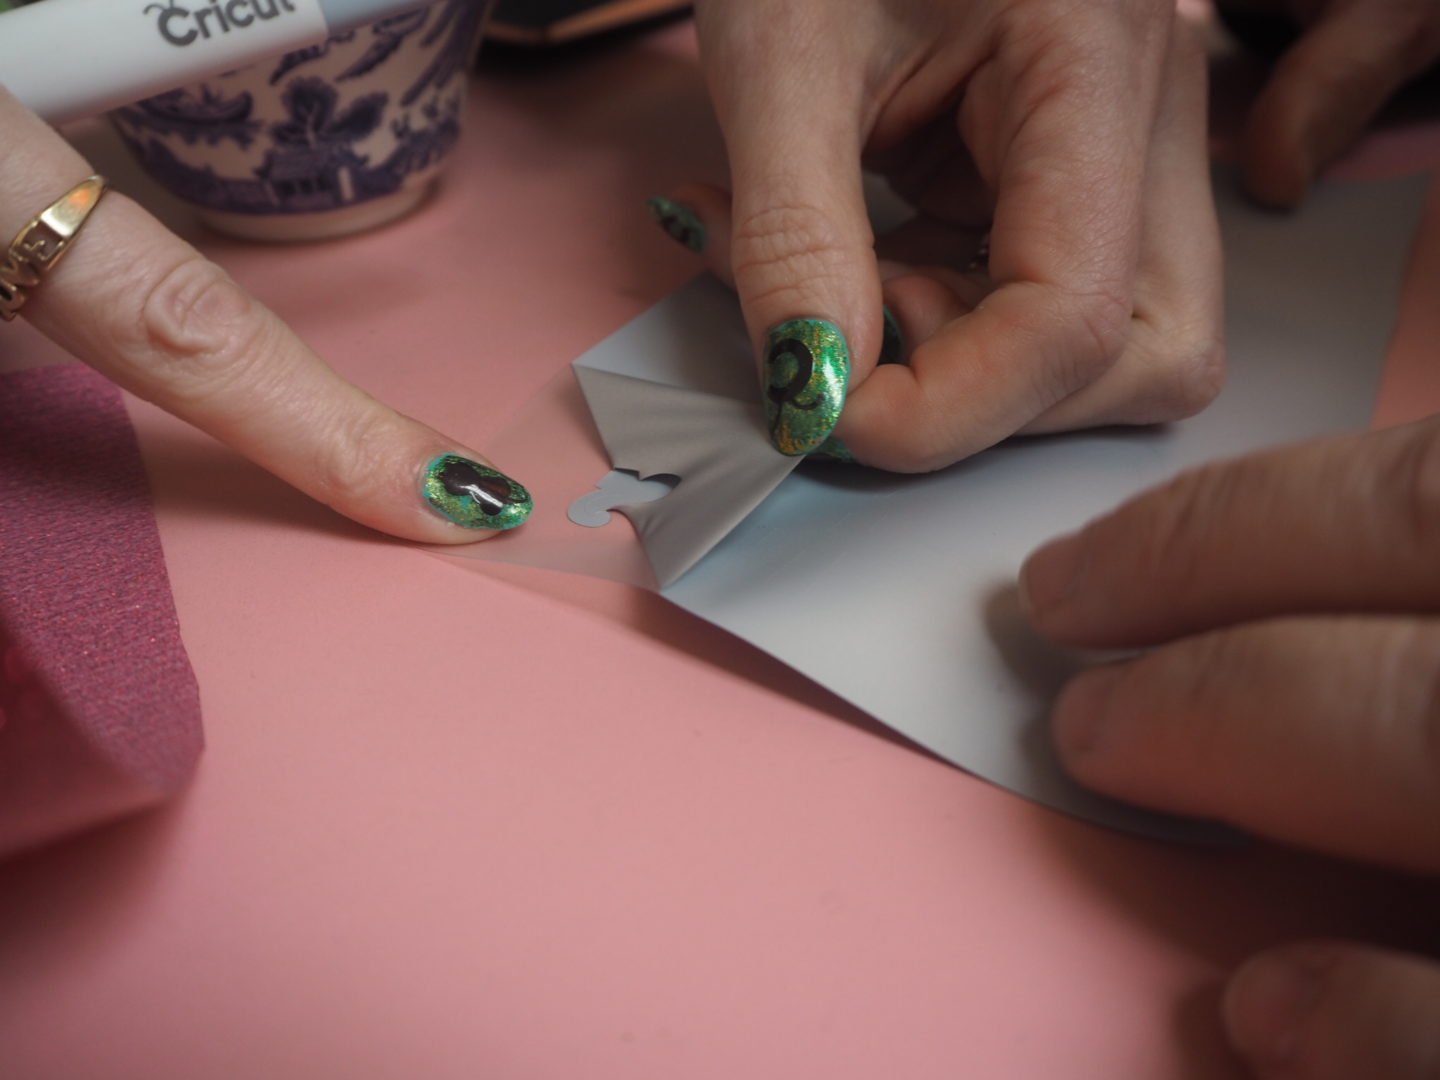
- Cut and weed your iron-on vinyl design. Make sure your design has been cut in a mirror image!
- Place your fabric onto the EasyPress heat-resistant, moisture-wicking insulation mat (which acts like an ironing board).
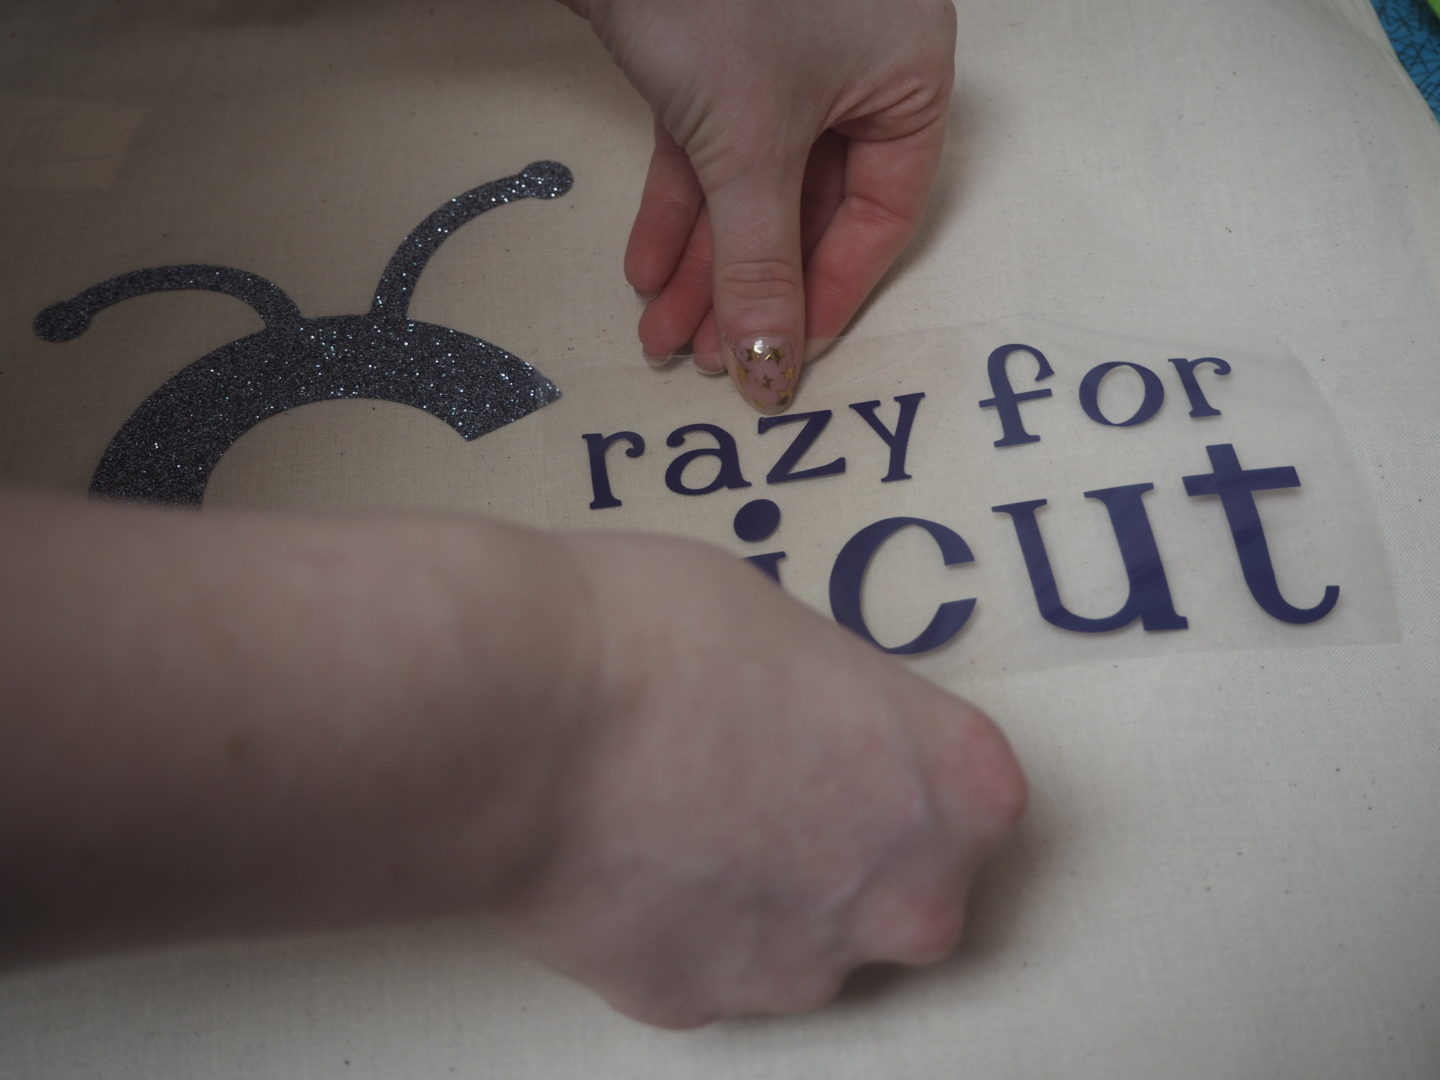
- Place the vinyl onto your fabric making sure it’s in the right place.
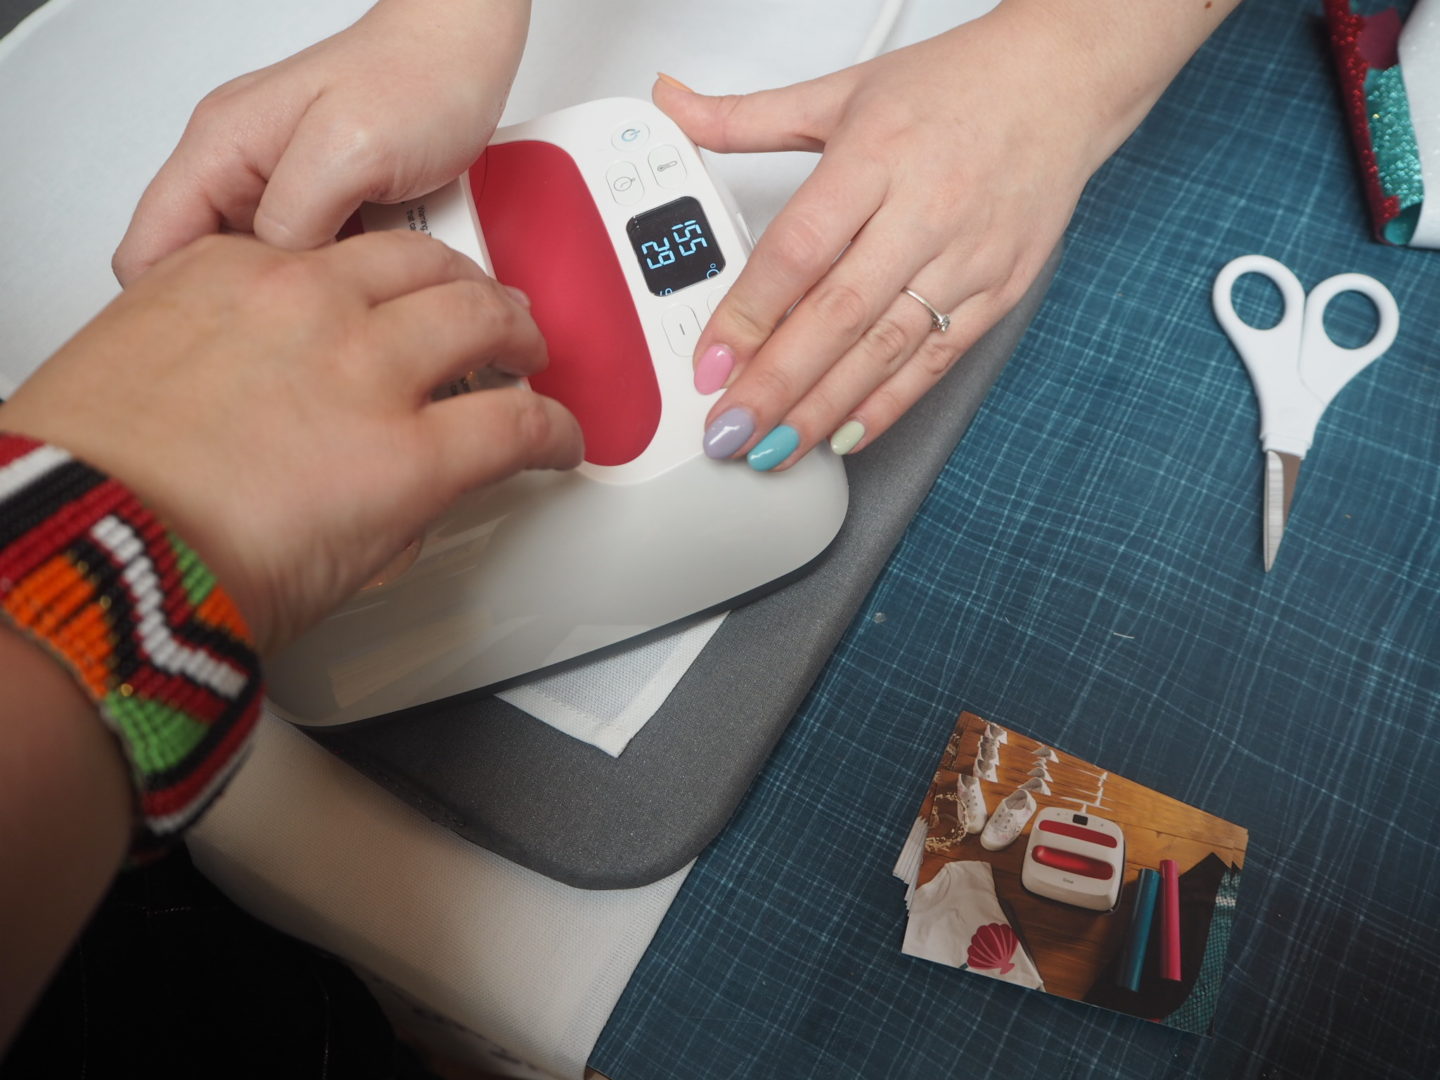
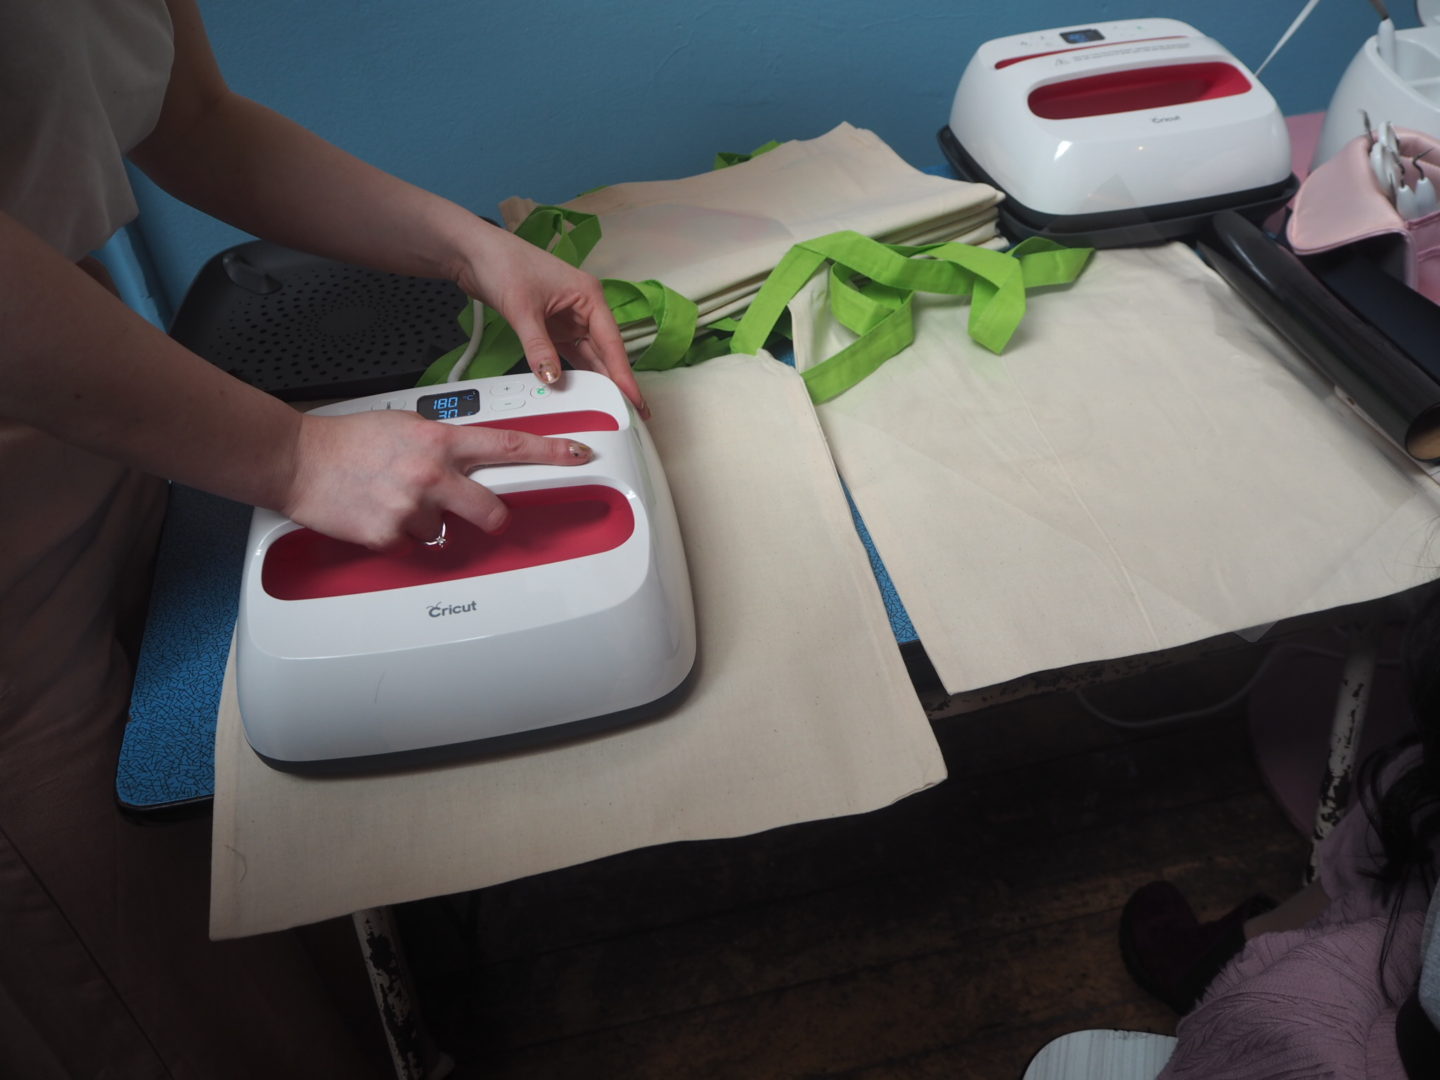
- Set the time and temperature for your EasyPress. Check Cricut’s Interactive Quick Reference Guide to help you decide what settings to use.
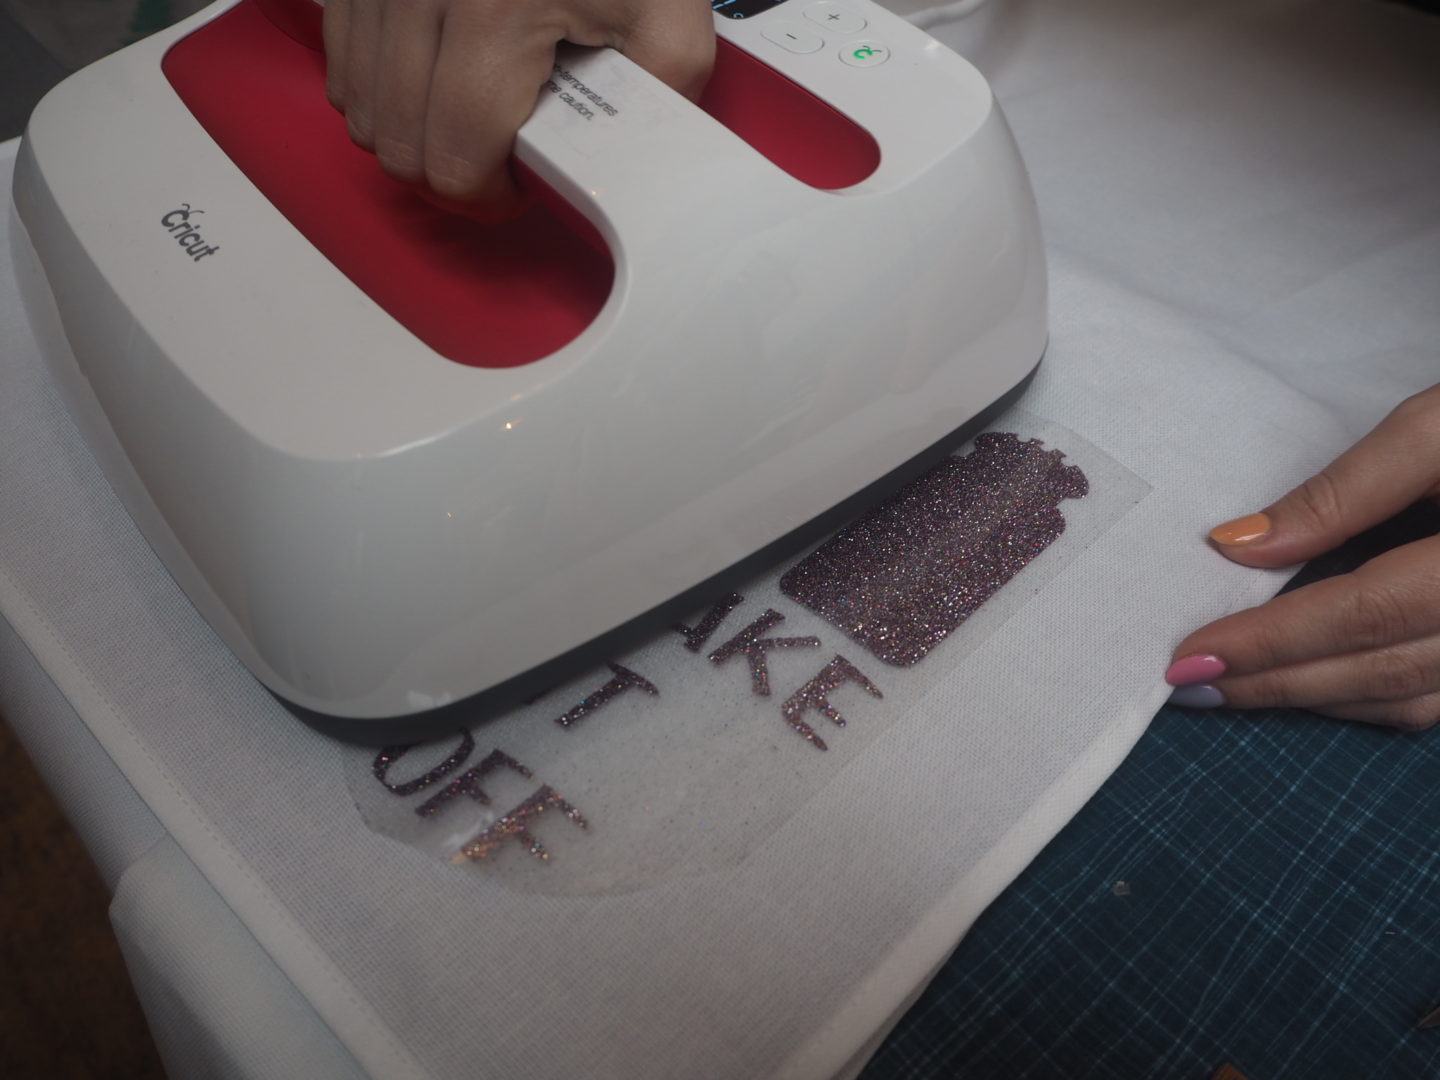
- Place the EasyPress on top of your iron on design and press the illuminated green Cricut start button and the timer will start to count down. Be sure to press down a little for the best results.
- When your time is up the EasyPress will bleep. Gently remove the EasyPress and place on its safety base.
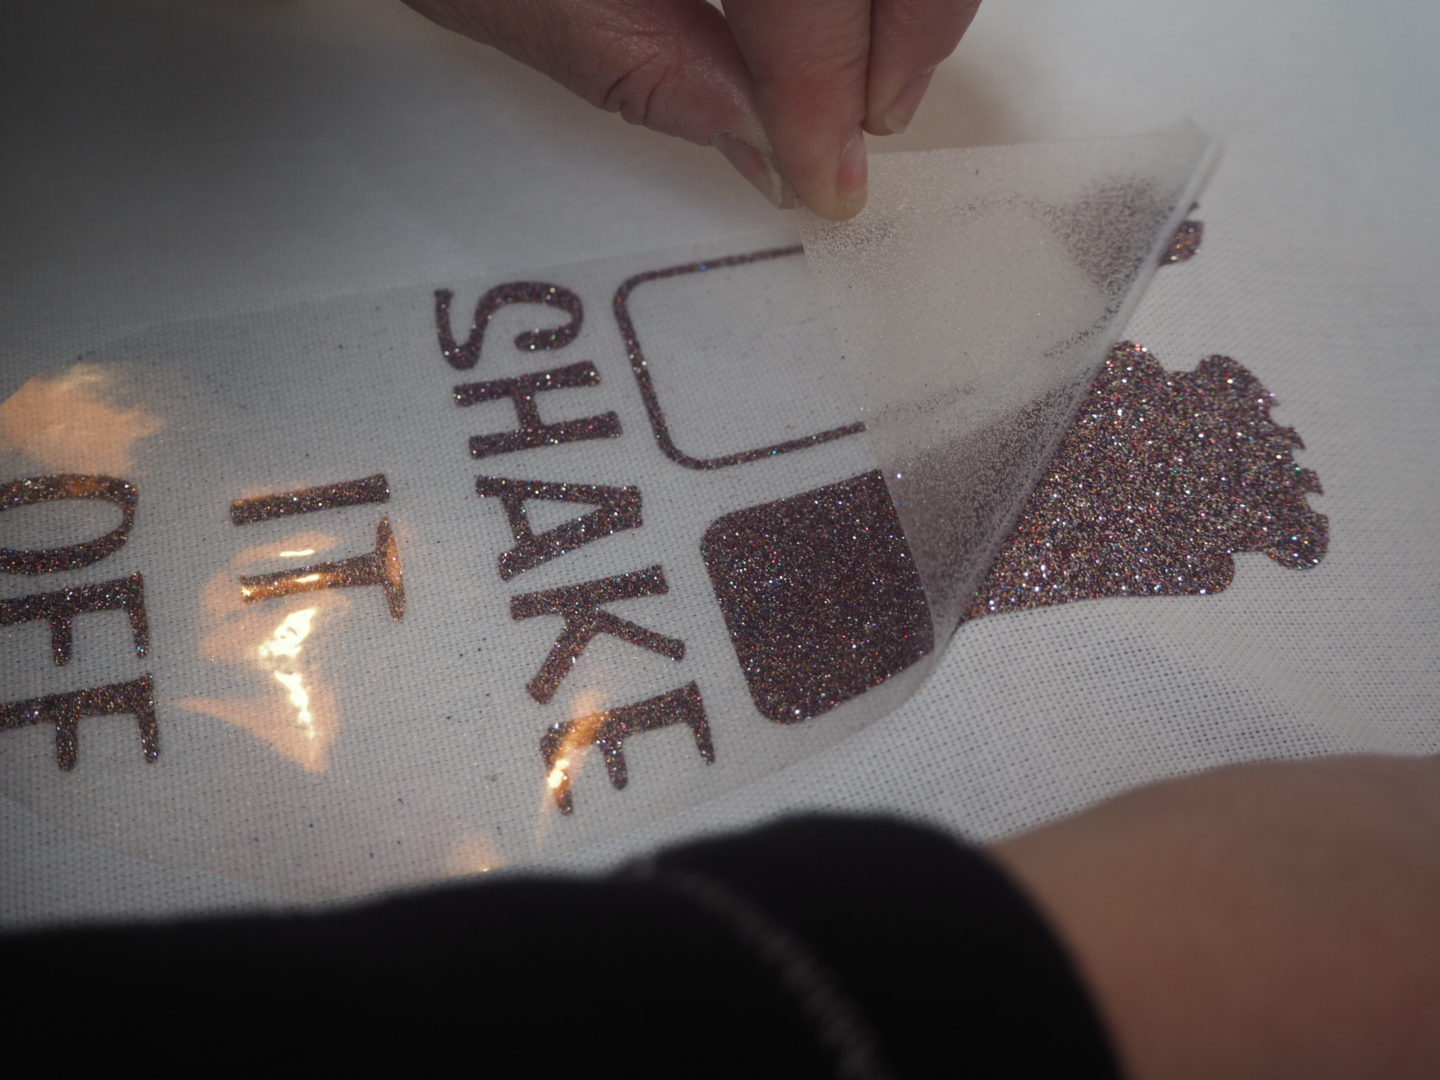
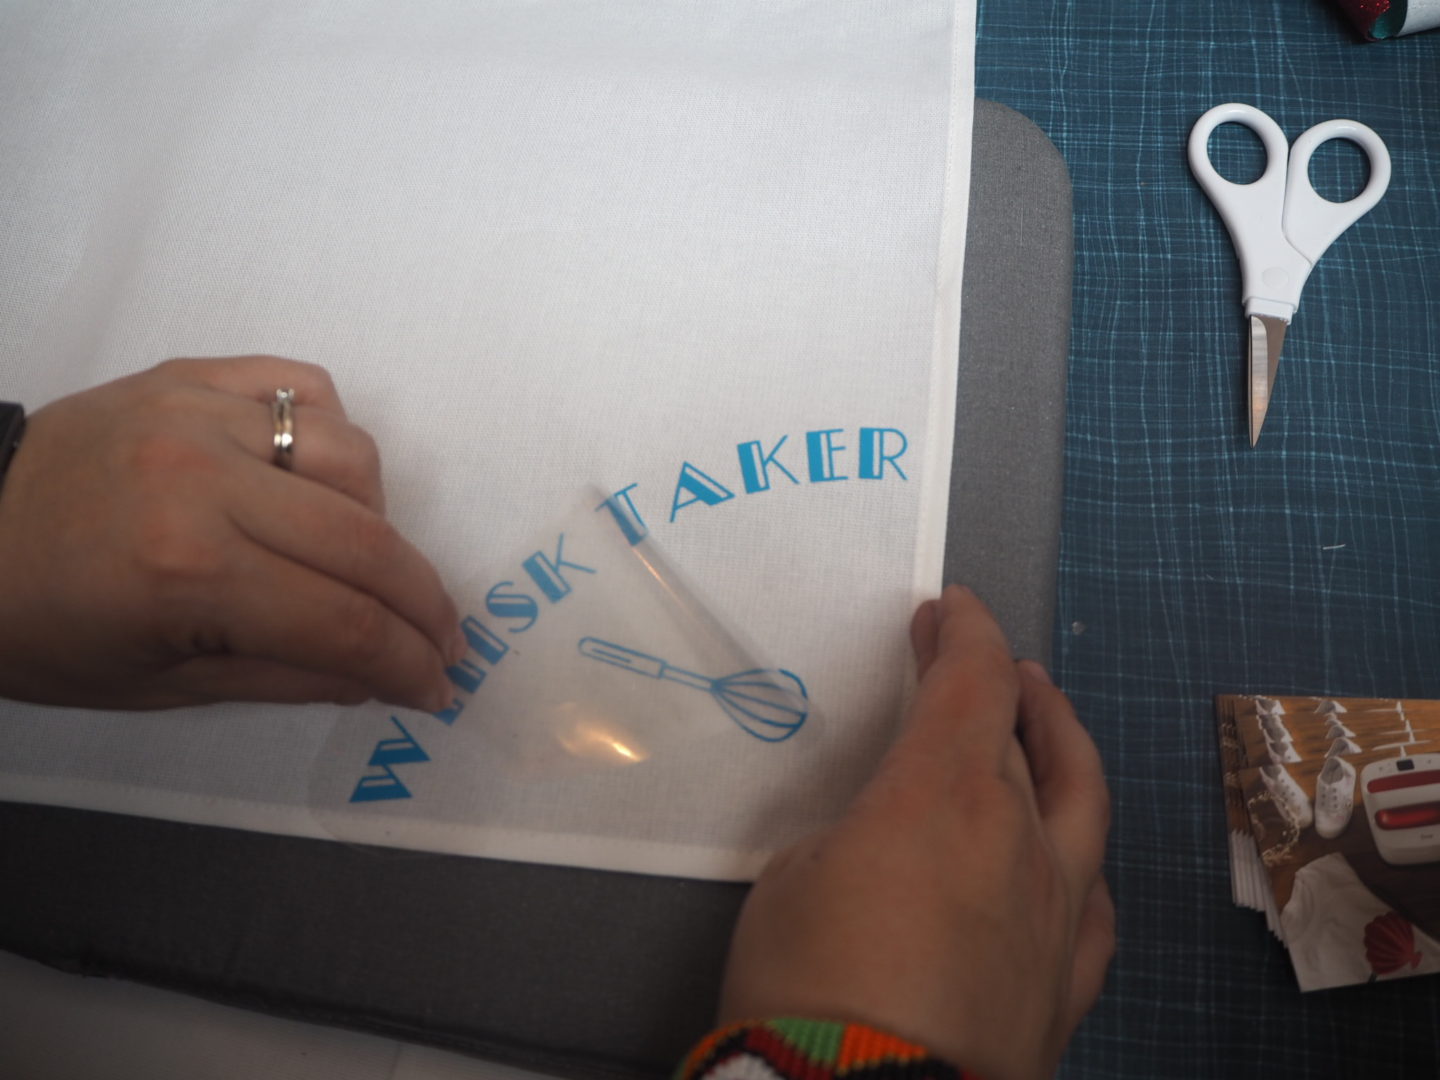
- Gently peel your iron on vinyl clear layer away to leave your finished design!
Some top tips:
- Before applying your iron on vinyl to your fabric give it a quick warm up with the EasyPress – just for a few seconds – to warm the fabric ready for transfer.
- Once you have your finished product turn it over and give it a few seconds of heat to ensure a strong bond to the fabric.
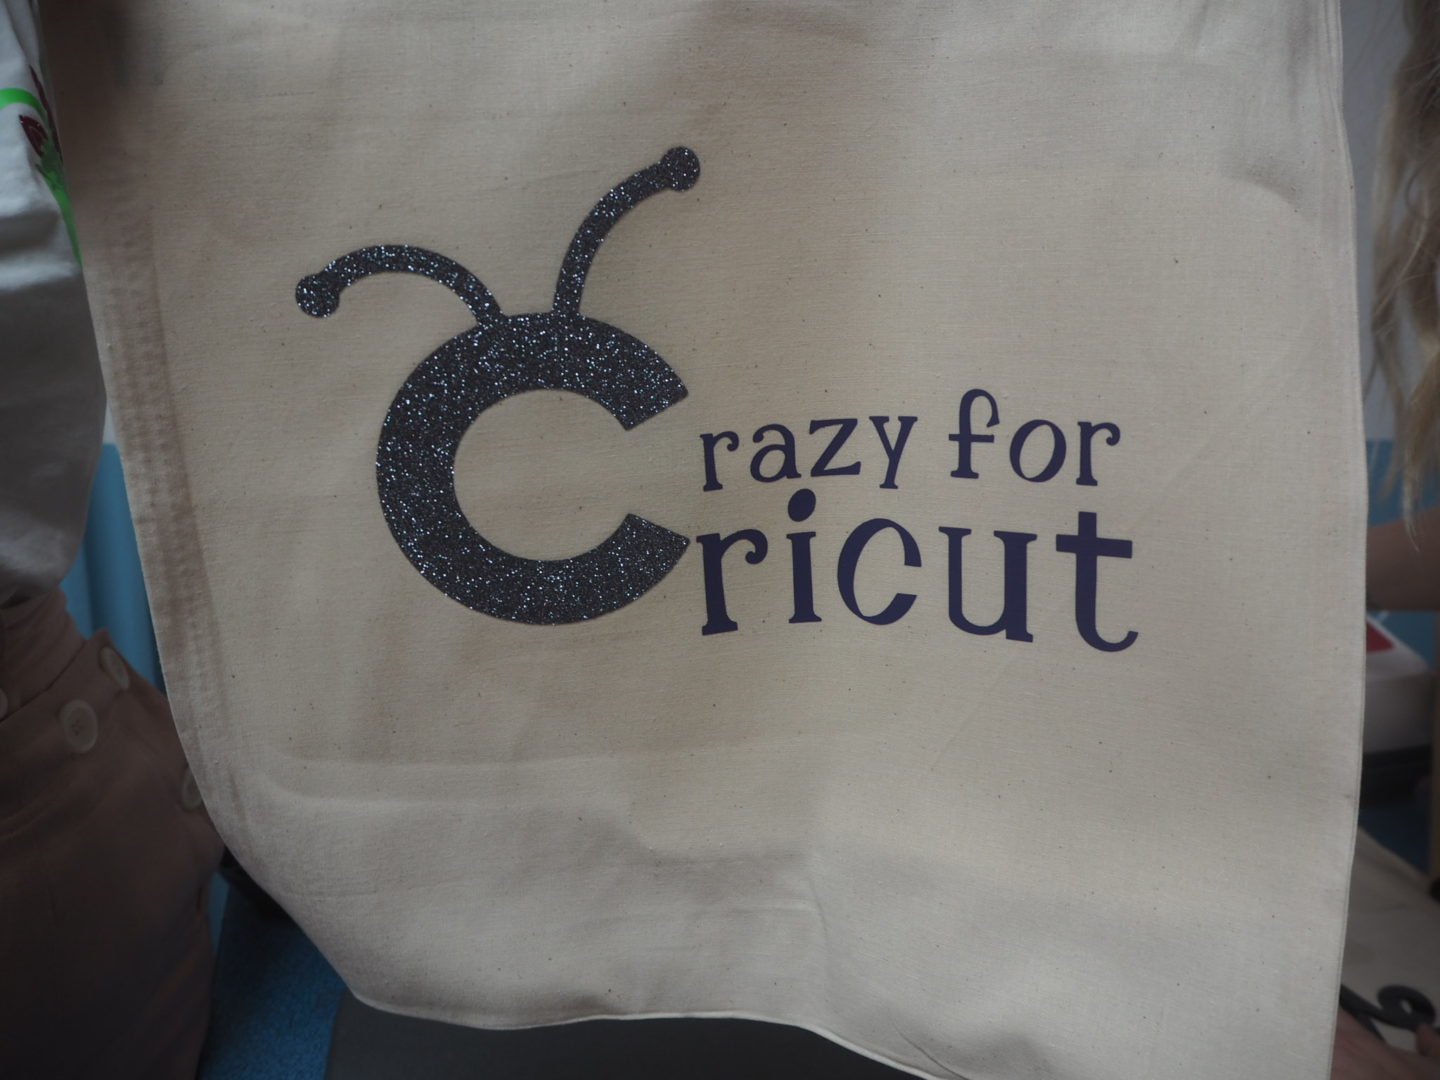
As you can see from the photos below I have enjoyed decorating my own tea towels and tote bags. I have also ordered some blank t-shirts which I am going to personalise as gifts for my family and I have personalised an apron.
At first I was a little scared of using the EasyPress (due to mishaps using a regular iron!) but once I familarised myself with the settings and just did each step at a time I discovered that there was nothing to be afraid of!
In fact I have really enjoyed getting to know the handy EasyPress 2 from Cricut and certainly recommend it to anyone who regularly uses iron on vinyl in their craft projects. I award it 5 out of 5 stars.
This is a sponsored conversation written by me on behalf of Cricut. The opinions and text are all mine.







17 comments
I would love to be able to make my own personalised t-shirts and other printed gifts. This looks like a useful little gadget!
I am not a crafter but even I want one of these, it looks like so much fun
This sounds like such a great device for crafters. What a lovely idea to make some gifts for your family.
I have been looking at this, along with the Cricut machine. I’d love to be more crafty and both these products look and sound fantastic
My mum is a creative but still loves her easy press and this Cricut one seems like it does an amazing job.
Oh wow this is really cool! I’d love to make shirts some day, this makes it seem that bit more realistic!
I love the simplistic ease for using this as a print design. Looks like you get a good coverage on the whole design compared to some which miss out the print. Very handy to have if you love making your own bags and tea towels.
Oh wow this looks so impressive and really takes crafting to the next level! I would love to have this to create my own designs 🙂
This looks so fab. i have a friend that regularly makes her kids clothes by buying things plain and then using one of these to decorate. Looks great!
Oh wow how cool is this. I could imagine getting hooked on this and personalising everything lol xx
This sounds like a great idea! I definitely wouldn’t trust myself to do it right with a regular iron!
I don’t think this makes you a lazy crafter at all as you’re using the things available to you, and I think i’d be far more likely to use this than an iron x
Oh this sounds fab and I think anything which can save you time or effort is always a great thing! I’d love to have one just to play with!
This actually sounds like a useful gadget to have for your crafting purposes. It looks less hassle than getting your iron out. I think it would actually encourage you to do more, which is always a good thing.
This is brilliant! The possibilities are endless! You can literally make all your own Christmas gifts now haha
I would love something like this at home to create designs whilst I am on maternity leave. What a lovely idea!
I think it’s easier than an iron to use. It’s going to be perfect for pressing clothes as well!
Comments are closed.